What to Expect During Hardwood Floor Refinishing Projects
Prepared To Be "Floored"
Once you have decided to have a wood floor refinished, you may wonder what the first step is. Usually people request us to come and see the floor and work up a quote for them. This is always the best way to start because not all wood floors are “sandable”. If they have been sanded many times over the years, there does come a point where they are too thin to sand. We can determine this upon examination. We can also answer your questions and point out any areas of concern - stains that may not sand out or boards that should be replaced before sanding. Occasionally, people request a phone quote to get a general idea of costs. This is a good route to go if you are deciding between carpeting and other products and refinishing. Please know that we cannot refinish laminate or some types of prefinished flooring that are not solid wood. These types of floors are disposable and need to be replaced after heavy wear.
After you have your quote and have had a chance to talk to us about your floor, we will schedule a time to do the job. We will be there when we are scheduled to start - sticking to a schedule is as important to us as it is to you!
Before the work begins, all furnishings should be removed from the room. Flooring professionals typically are not insured for furniture moving - that part is your responsibility.
When the men arrive, they will first look for an electric source. Typically we plug into a stove plug by pulling out the bottom drawer of the stove to access the outlet. If the stove is gas or directly wired, we can hook directly to the panel box - we are looking for a double 50 amp breaker. Our cords are long, so location is not an issue.
After electric, the next thing they will do is set up the dust containment system outside your home. This big vacuum links directly with the machines through various hoses and sucks the dust from the machines to the vacuum - very little escapes into your home. The men do not even wear dust masks anymore! This has been a huge improvement in the trade over the last decade. No more clouds of dust to contend with. We do hang plastic at doorways just in case a hose comes off to contain the area.
Sanding commences with a drum sander and an edger. The drum sander does the majority of the room’s center, while the edger does around the sides of the room. We also use machines that go under radiators and sand step treads. Corners, door trim, cabinetry - that flooring gets scraped by hand. We then go over the entire area with a pad sander and orbital the perimeter with a palm sander to get rid of any sander marks. During the sanding process, we do color samples on the floor for you to pick from, then sand them off again.
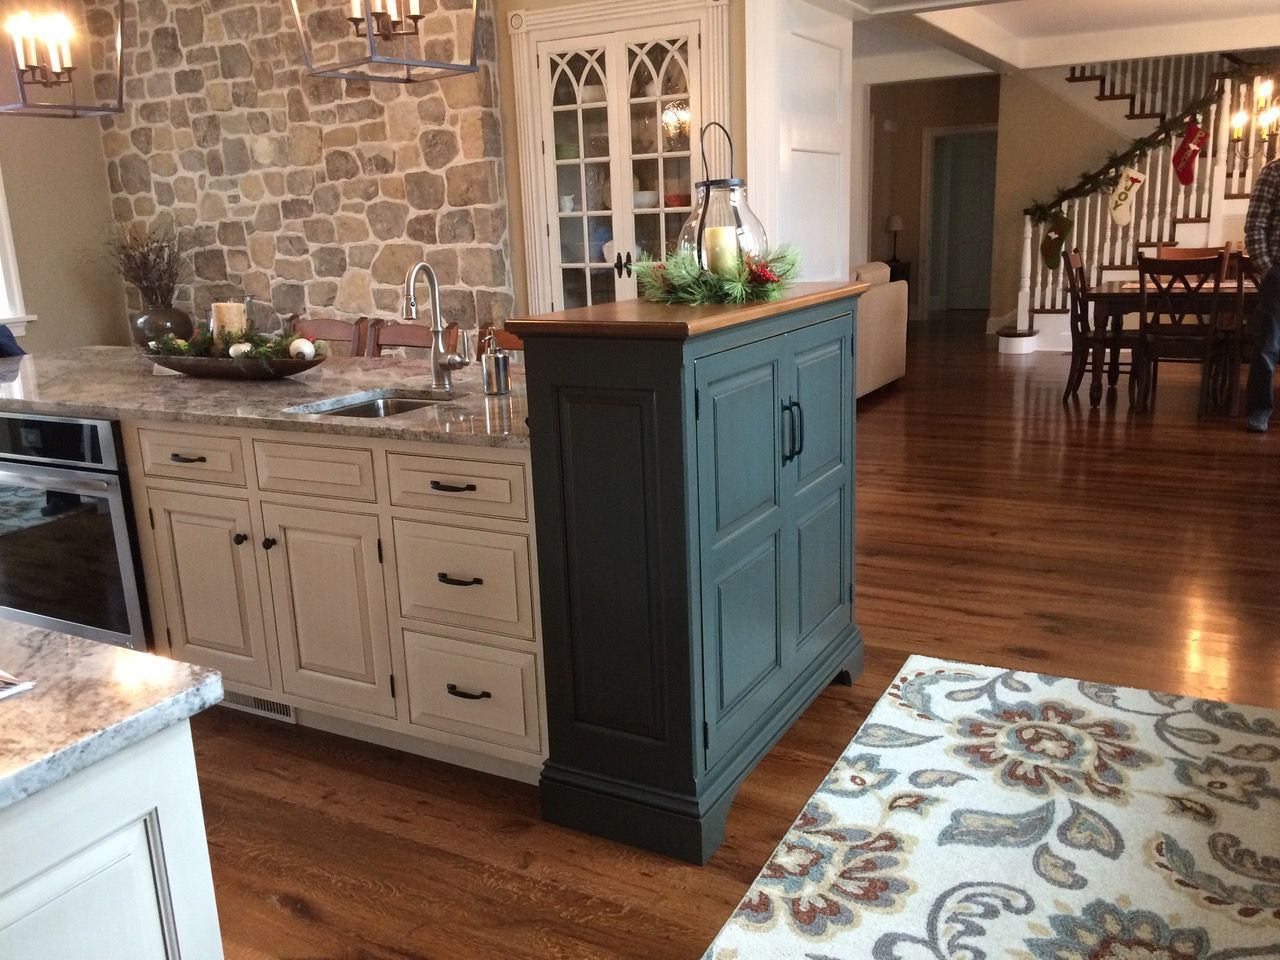
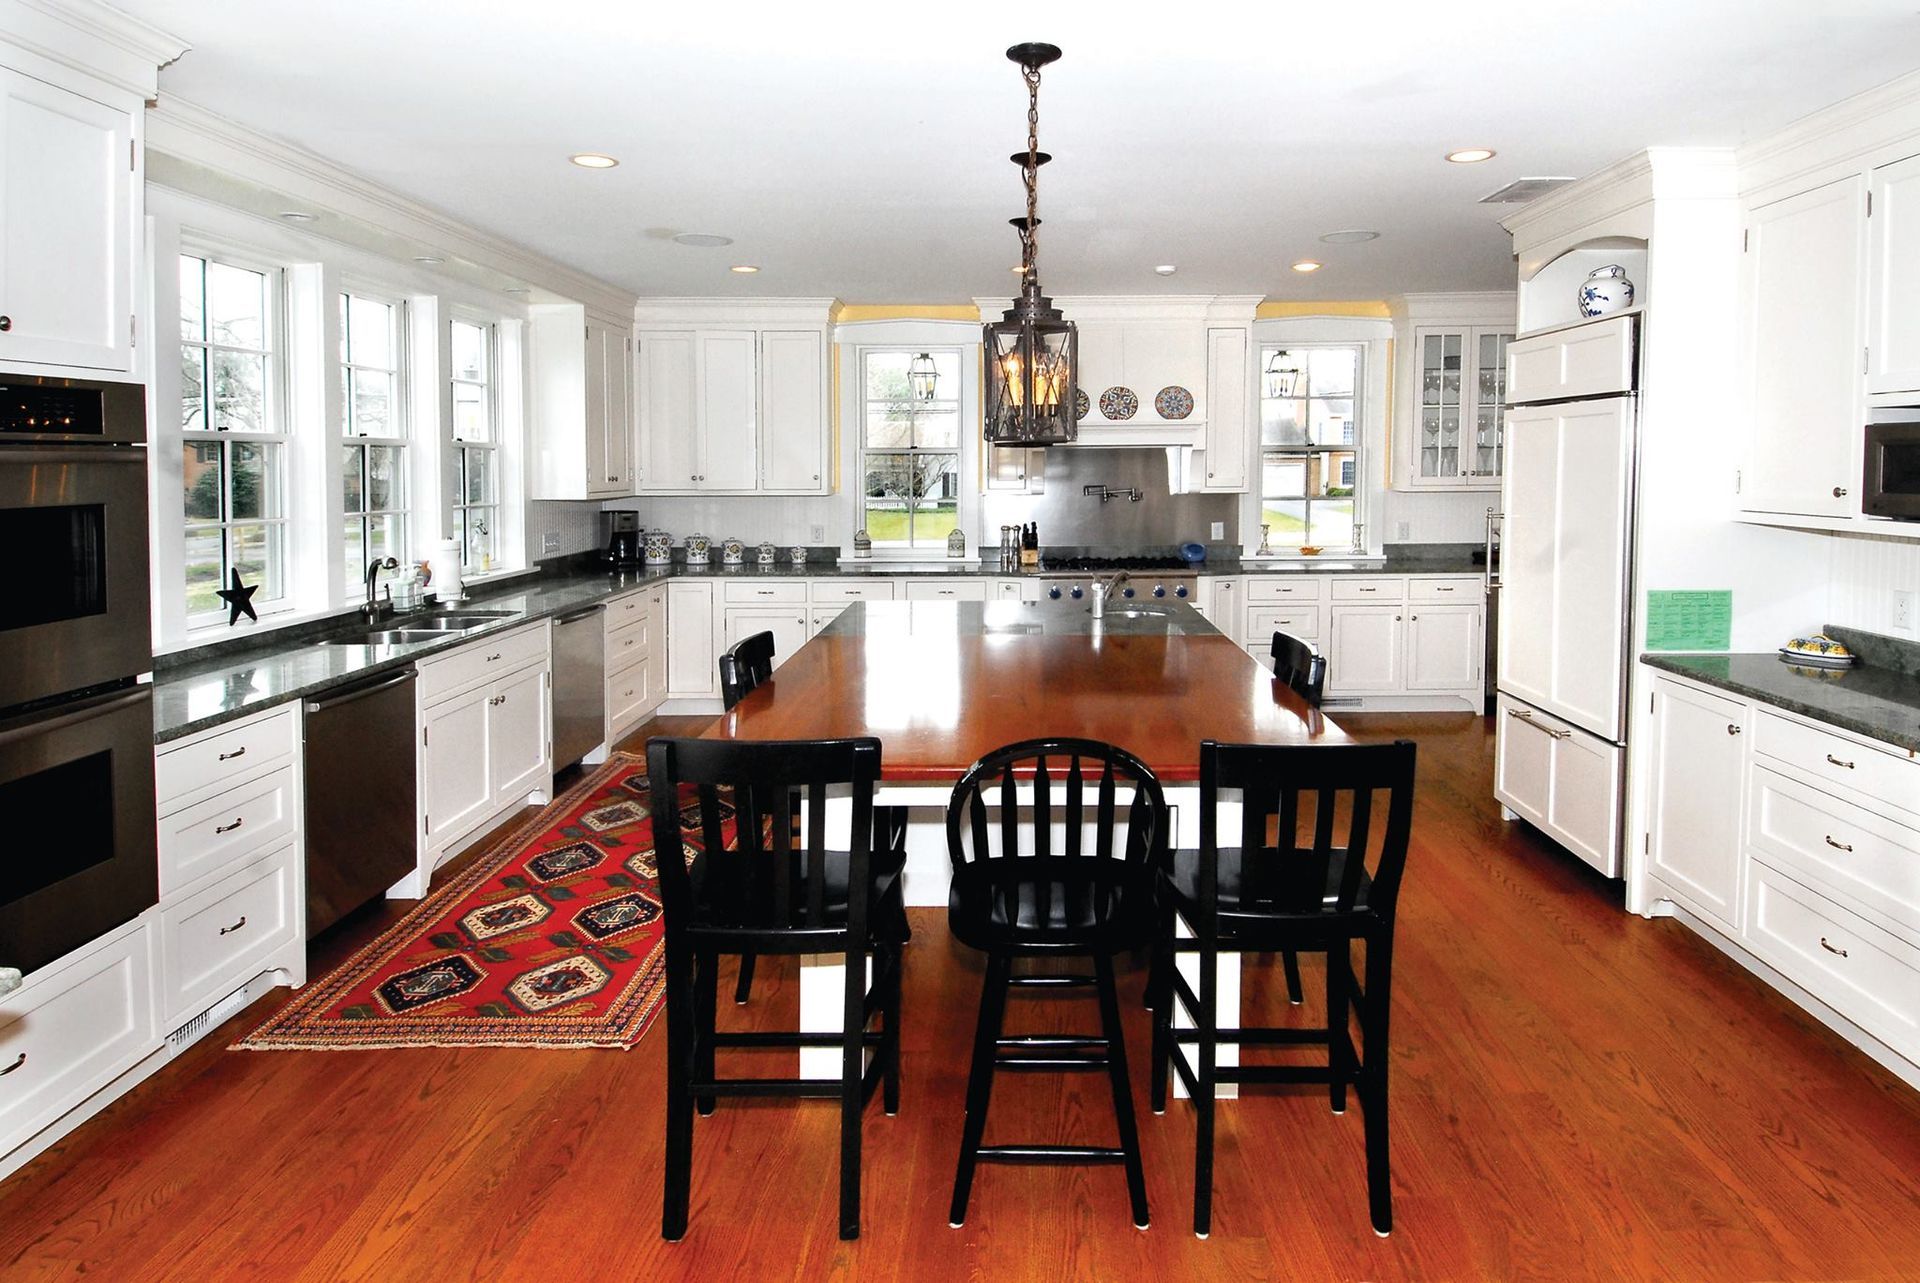
Once the floor is sanded and the area cleaned up, the staining and finishing begins. The first coat is always the color selected - whether that is a stain or a clear coat. After that is dry - typically overnight - we come back the next day to begin the clear coating process. Usually 2 to 3 coats are applied. They come in different sheens - satin, semi-gloss or high gloss. You will need to direct us as far as your sheen preference. We typically start out with a satin sheen. If you would like the floor shinier, we can bump it up to a semi or high gloss for the last coat. We can always make the floors shinier, but never duller.
After the finish is applied, stay off your floors until they have had time to dry (pets too). How much time that requires depends on the stain color and type of finish used. Rule of thumb, dark colors take longer to dry than light colors and oil base finish takes longer to dry (about 8 hours) than waterbase (about 3 hours).
After the finish has dried, put felt pads on the bottoms of any furniture that moves across the floors - this will minimize scratching. Place scatter rugs at all entrances, avoiding those with rubber backs - they can discolor the floor. Avoid walking on your floors in cleats or high heels in disrepair. Wait 48 hours before putting furniture back (a week for large area rugs).
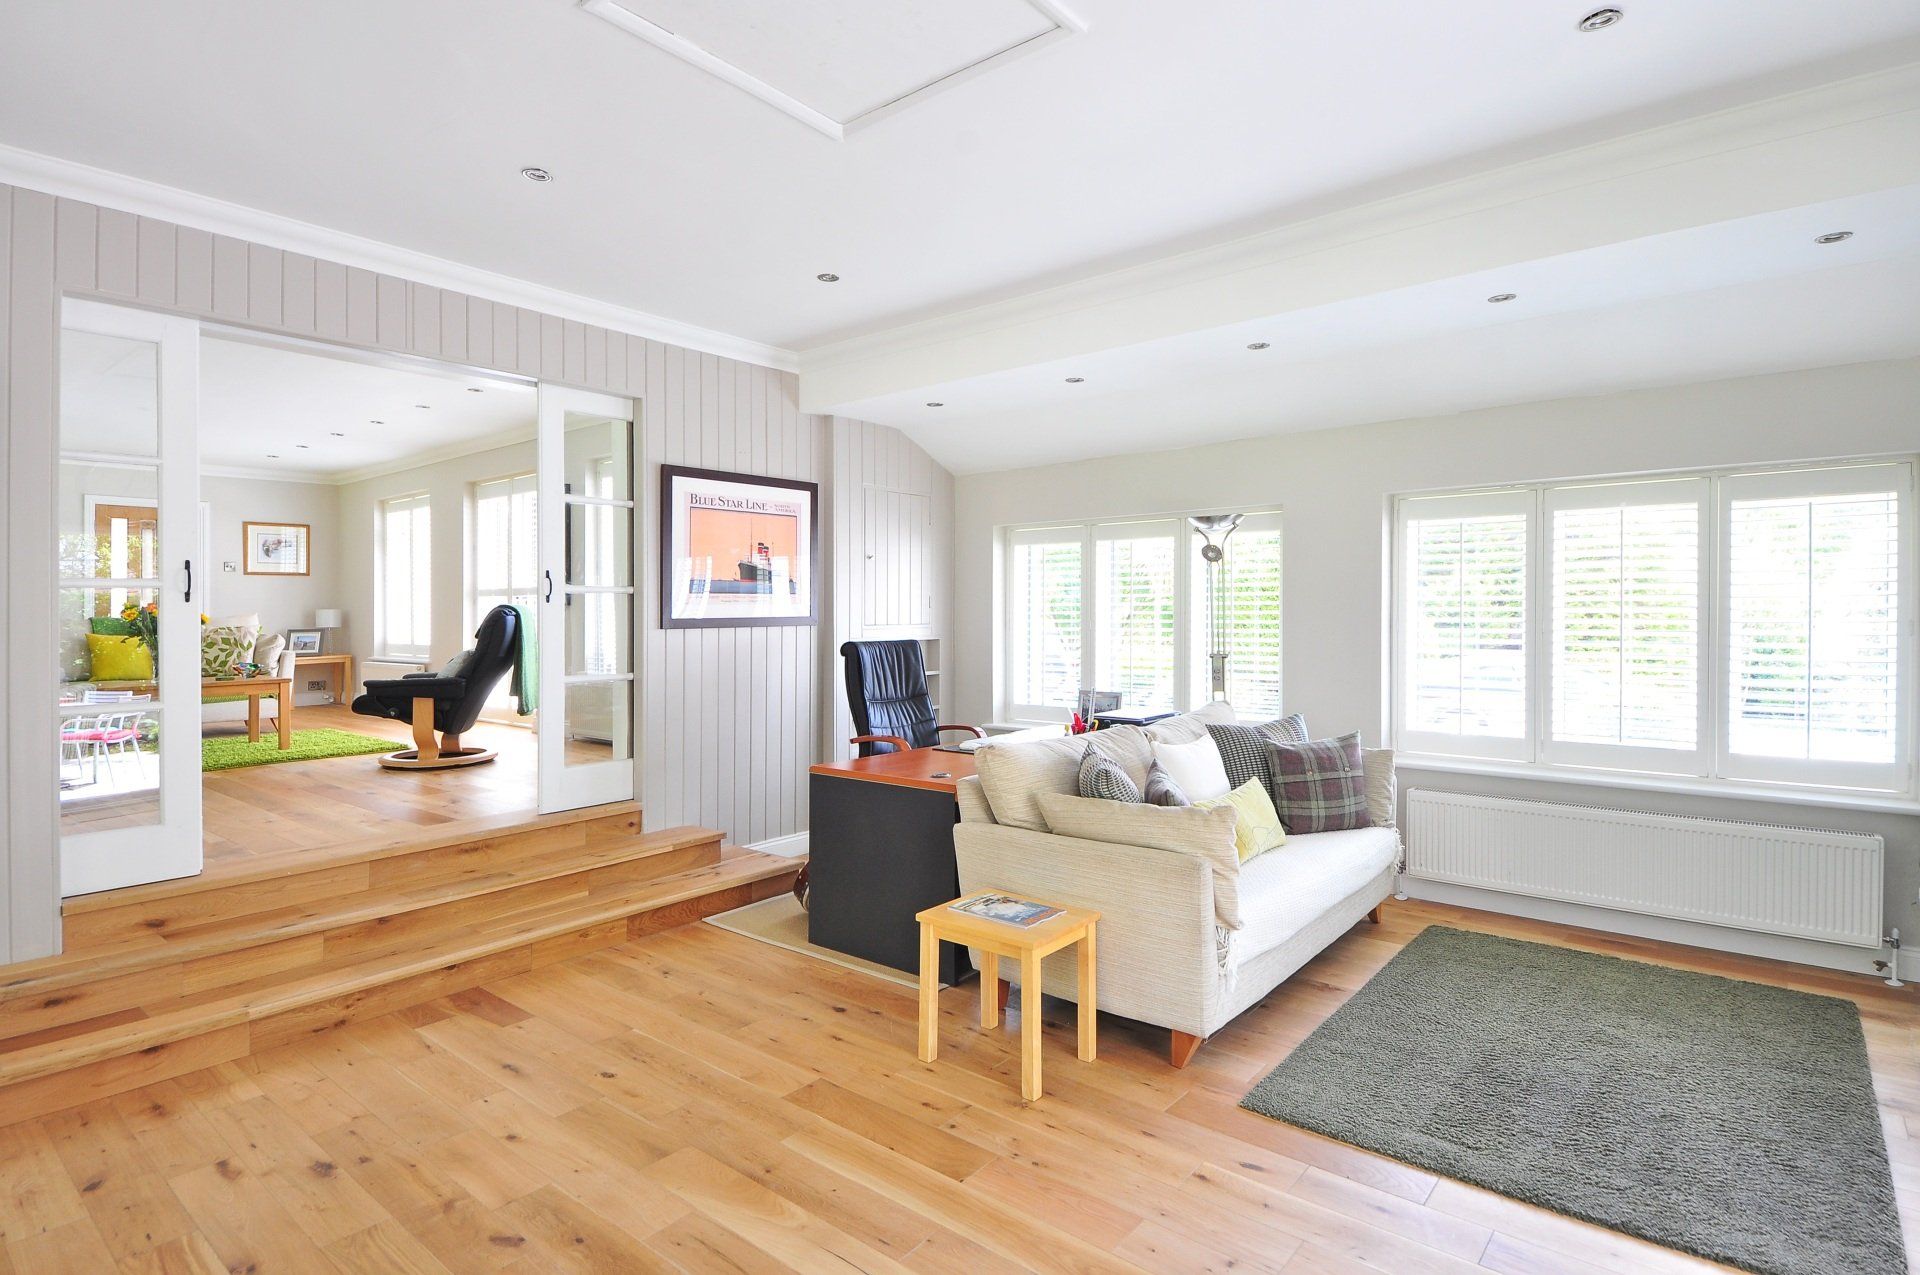
Keep in mind that no two floor boards will be identical. Variations in appearance are completely normal. As your floor ages, some color change can occur. This is normal, but can be minimized by limiting exposure to direct sunlight and periodically moving rugs and furniture. Cracks are normal as well and will appear and disappear between floor boards during seasons of high (summer) and low (winter) humidity. Generally, anything less than the width of a dime is considered normal and will correct itself as the seasons change.
Finally, keep your floors looking their best by properly maintaining them. Care sheets are left at every job explaining how to properly take care of your floors. Do the recommended maintenance and your floors will look great for years!
You might also like
Book a Service Today
Your Trusted Local Floor Finishing Company
Give us a call or fill out our Free Estimate form to get started.

The area's leading Floor Finishing Company.
Fully Licensed & Insured
Contractor #
PA019030
Office Hours
- Mon - Fri
- -
- Sat - Sun
- Closed


Website & Hosting by RedX Web Design. Built with SovoWeb CMS.